
In the Server Manager > File and Storage Services > iSCSI, click “to create an iSCSI virtual disk”.
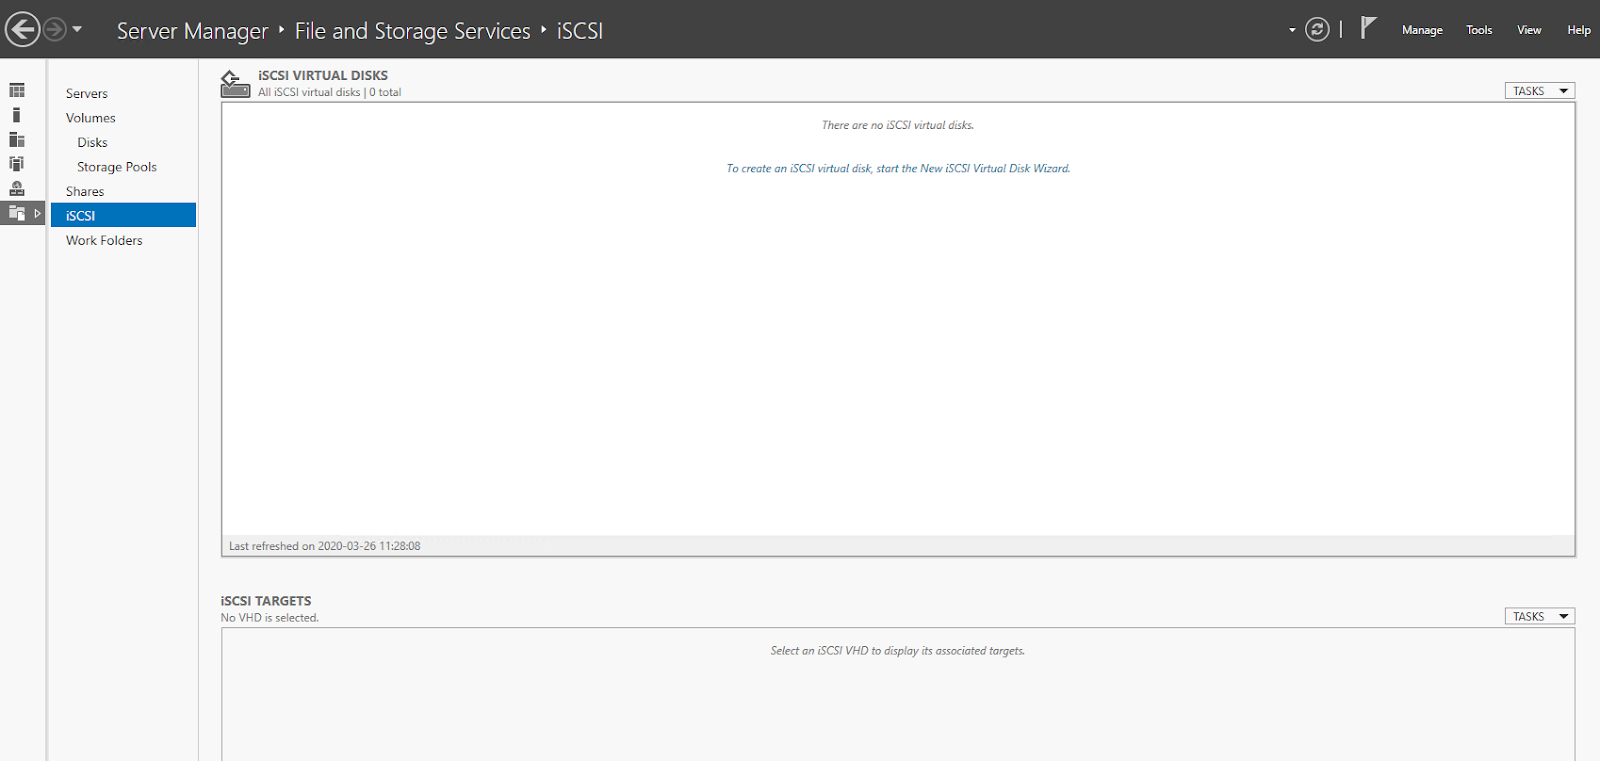
The New iSCSI Virtual Disk Wizard window is displayed. Select Disk that you want yo use as location for iSCSI Virtual Disk.
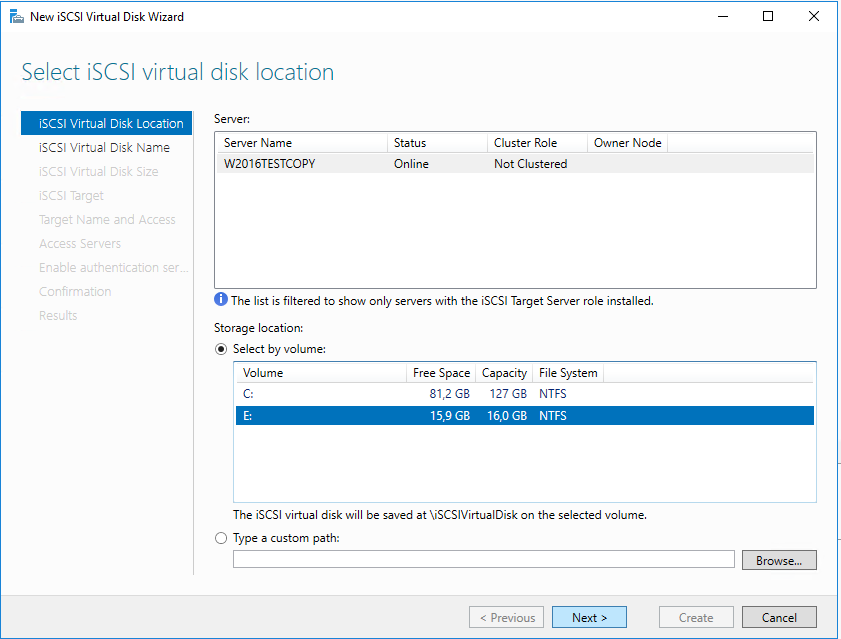
Click Next. The Specify iSCI virtual disk name will be displayed.
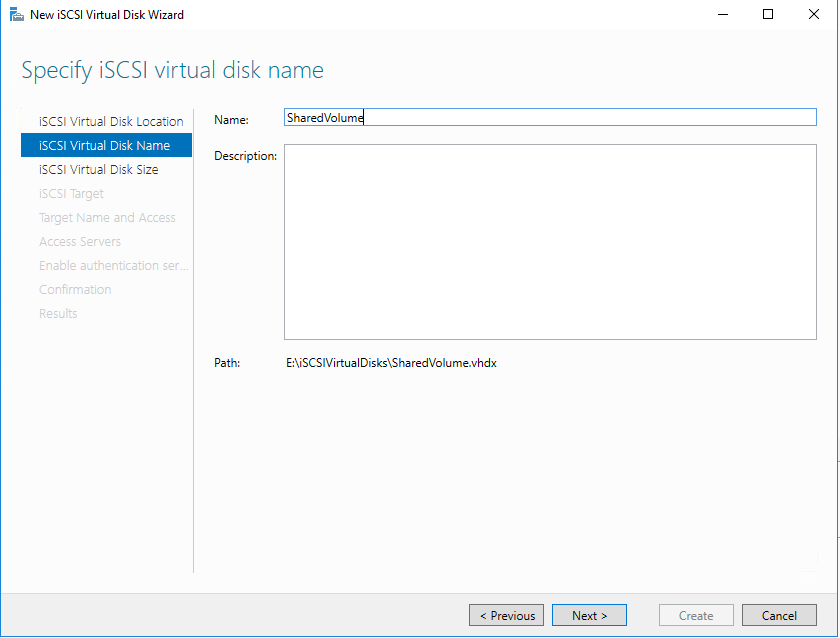
Choose disk name, add description if it’s needed and click Next. The Specify iSCSI virtual disk size window will be displayed.
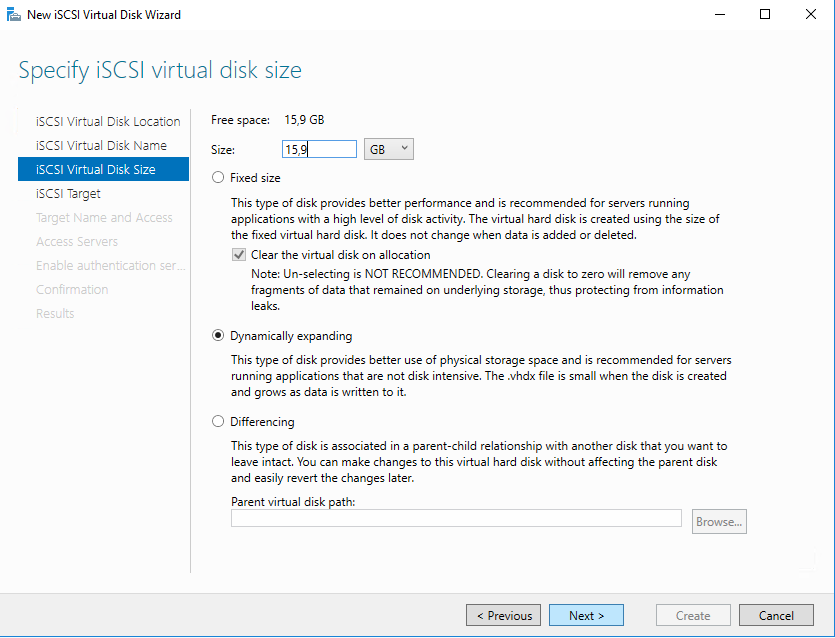
Type size of a disk. Click Next. The Assign iSCSI target window is displayed.
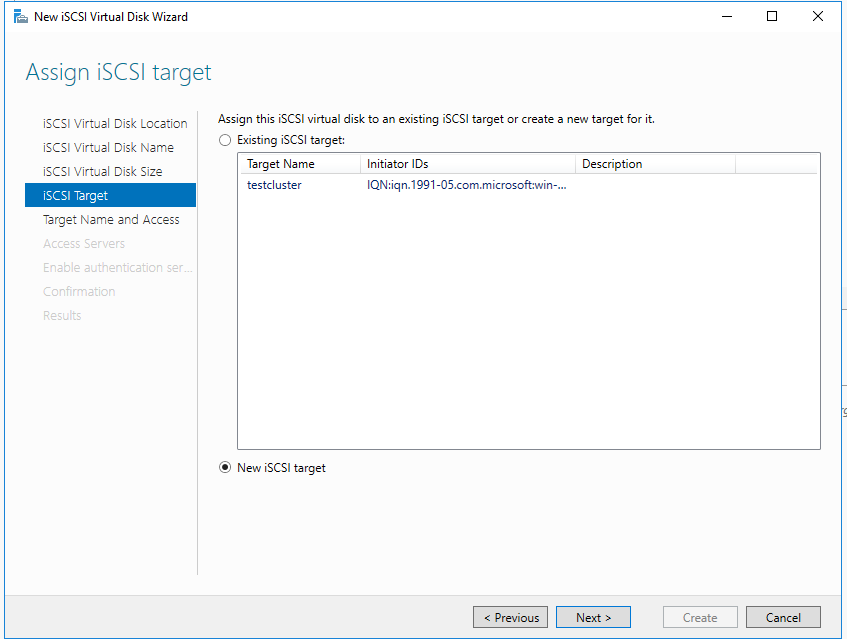
Choose New iSCSI target , click Next. The Specify target name window is displayed.
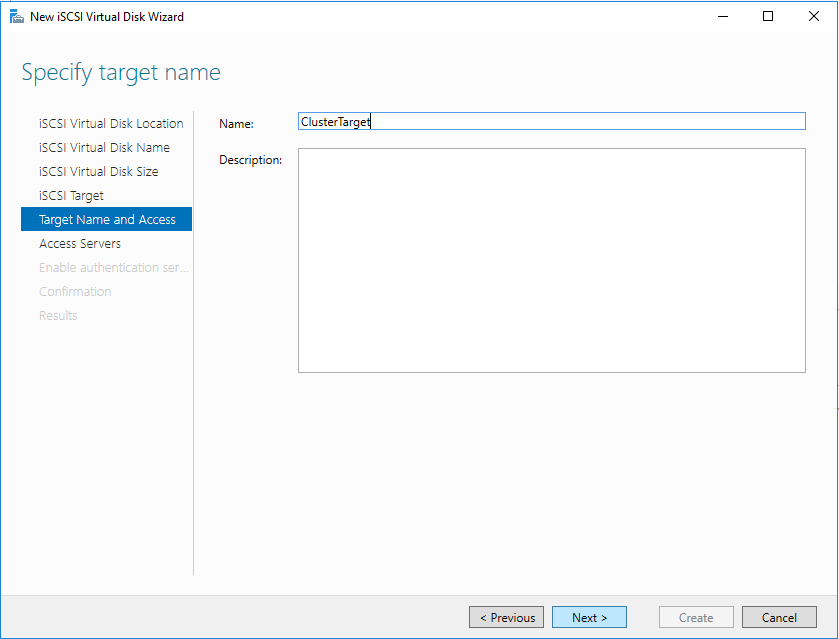
Choose new target name, description if needed and click Next. The specify Access servers window is displayed.
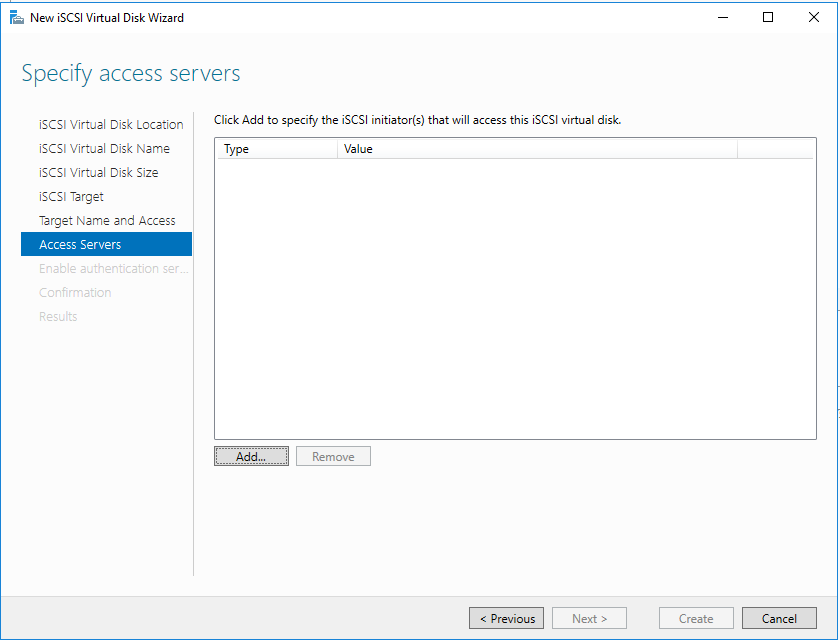
Click Add to specify the iSCSI initiators of added to AD nodes. The Add initiator ID pop up will be displayed.
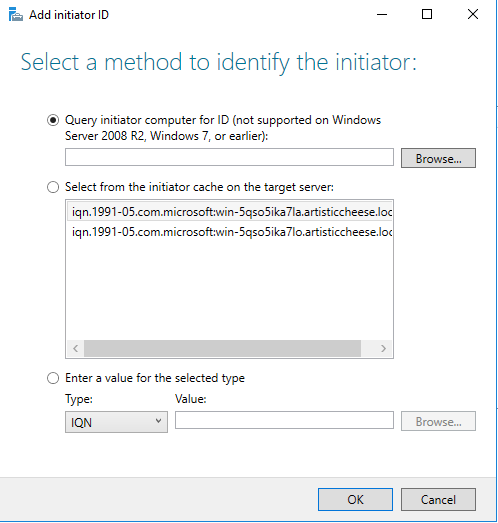
At this popup you can select new Computer IDs by selection Query initiator computer for ID and clicking Browse button. The Select Computer popup will be shown.
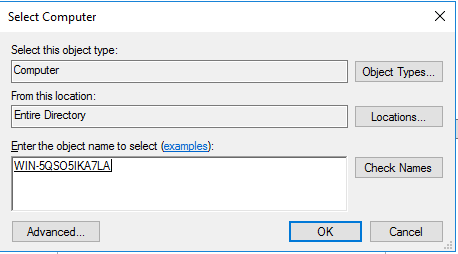
In this popup you can type Computer names, or click to advanced button, and find them at AD network.
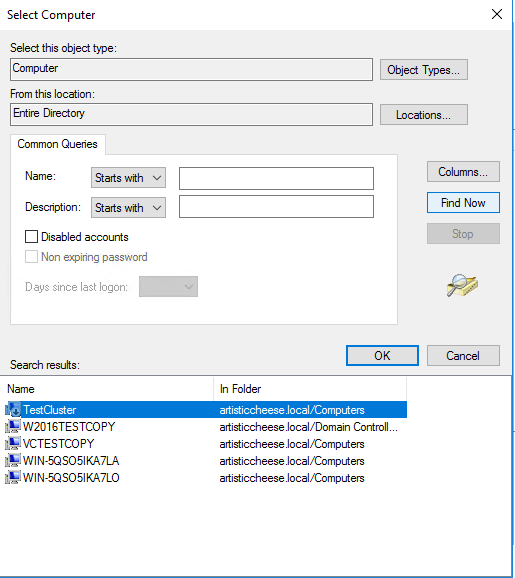
Add One-by-One all nodes to accessed servers.
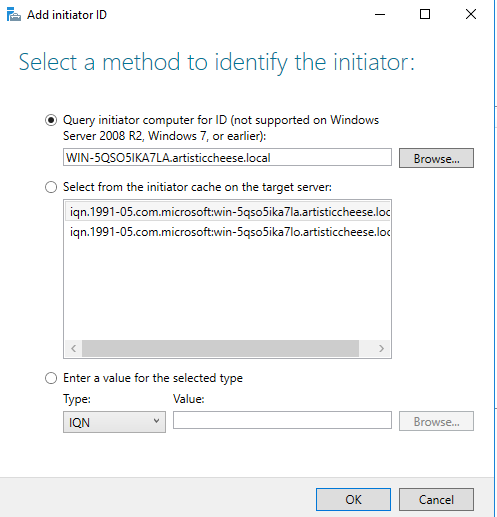
Another way is to select already known initiators from the initiator cache on the target server.
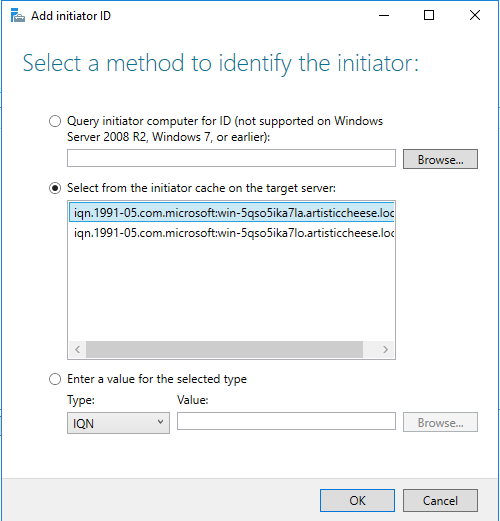
Add One-by-One all nodes to accessed servers.
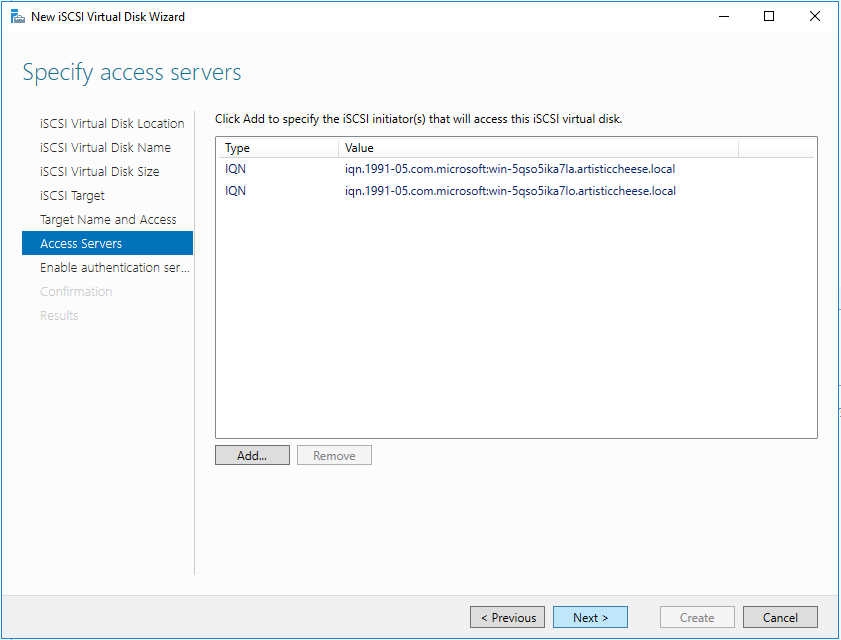
After All nodes added, click Next.
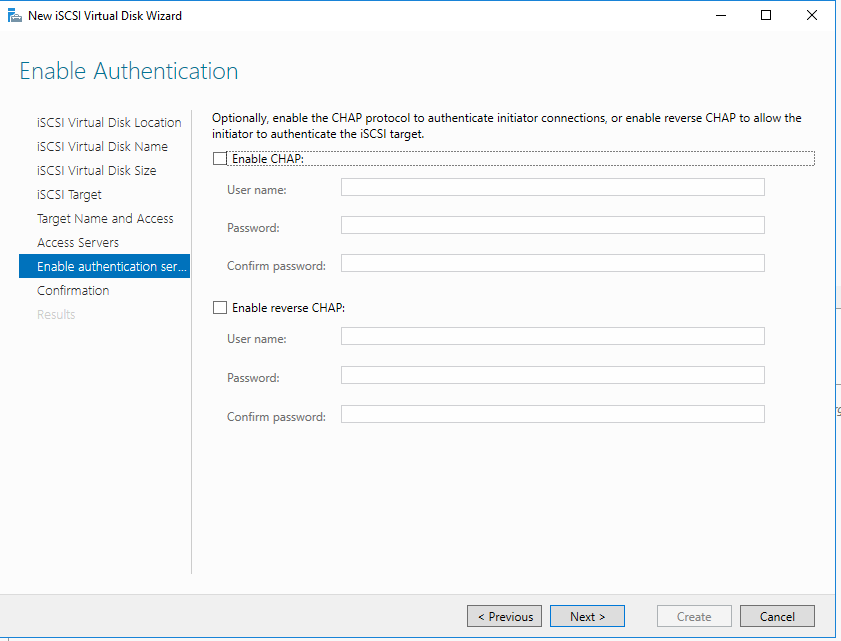
The Enable Authentication window is displayed. Setup CHAP protocol settings if it’s needed and click Next.
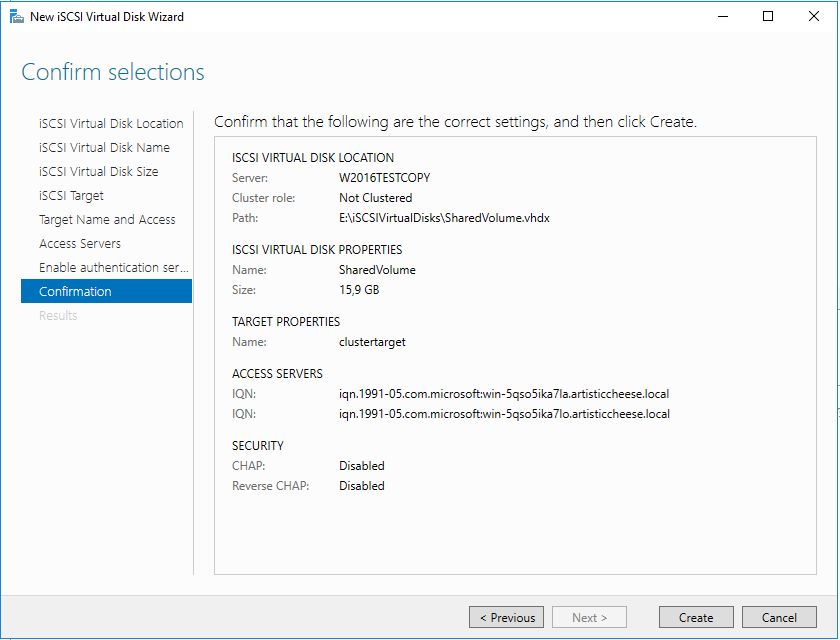
The Confirm selections windows is displayed. You can check all iSCSI settings that you selected before. After that click Create.
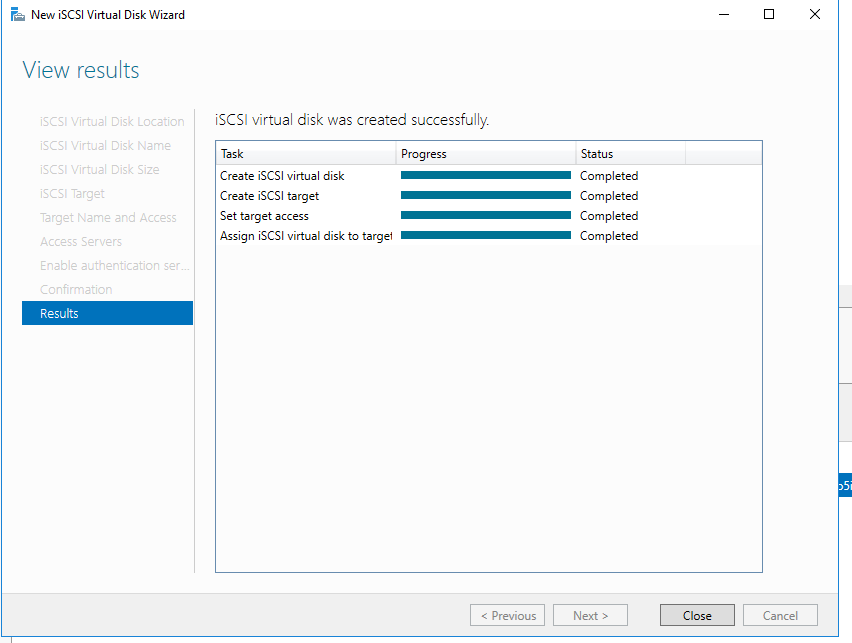
The Results windows will be displayed. After Creation will be succeed click Close.
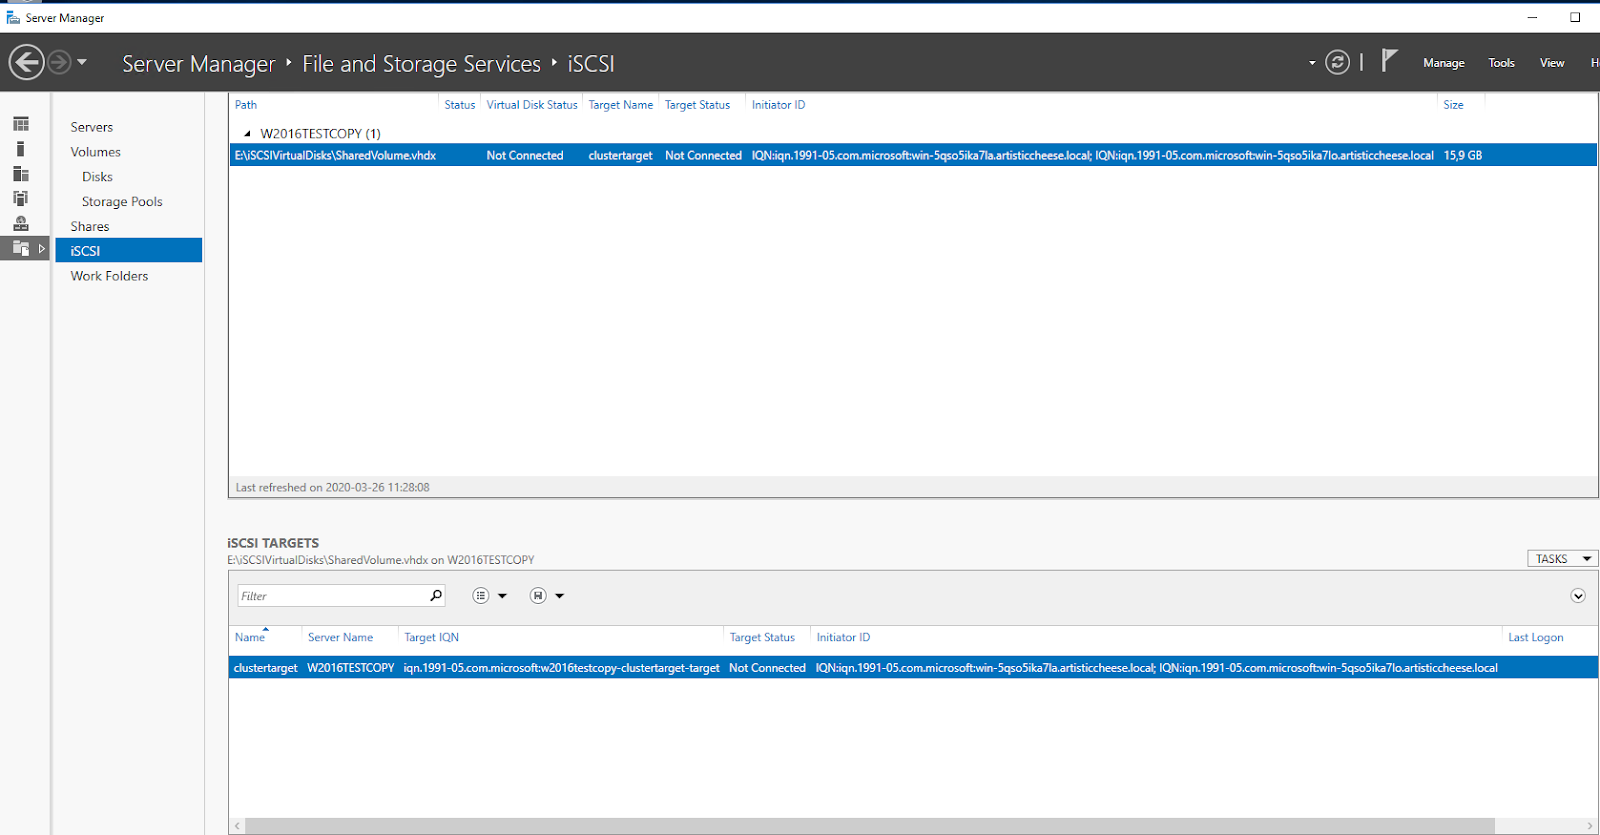
Now you can see new iSCSI virtual drive and targets.
