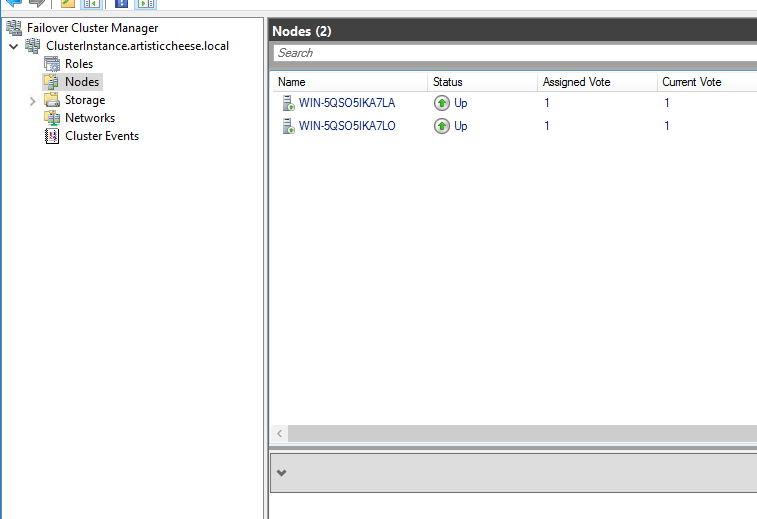
5.Create the failover cluster
Click Start > Windows Administrative tools > Failover Cluster Manager to launch the Failover Cluster Manager.
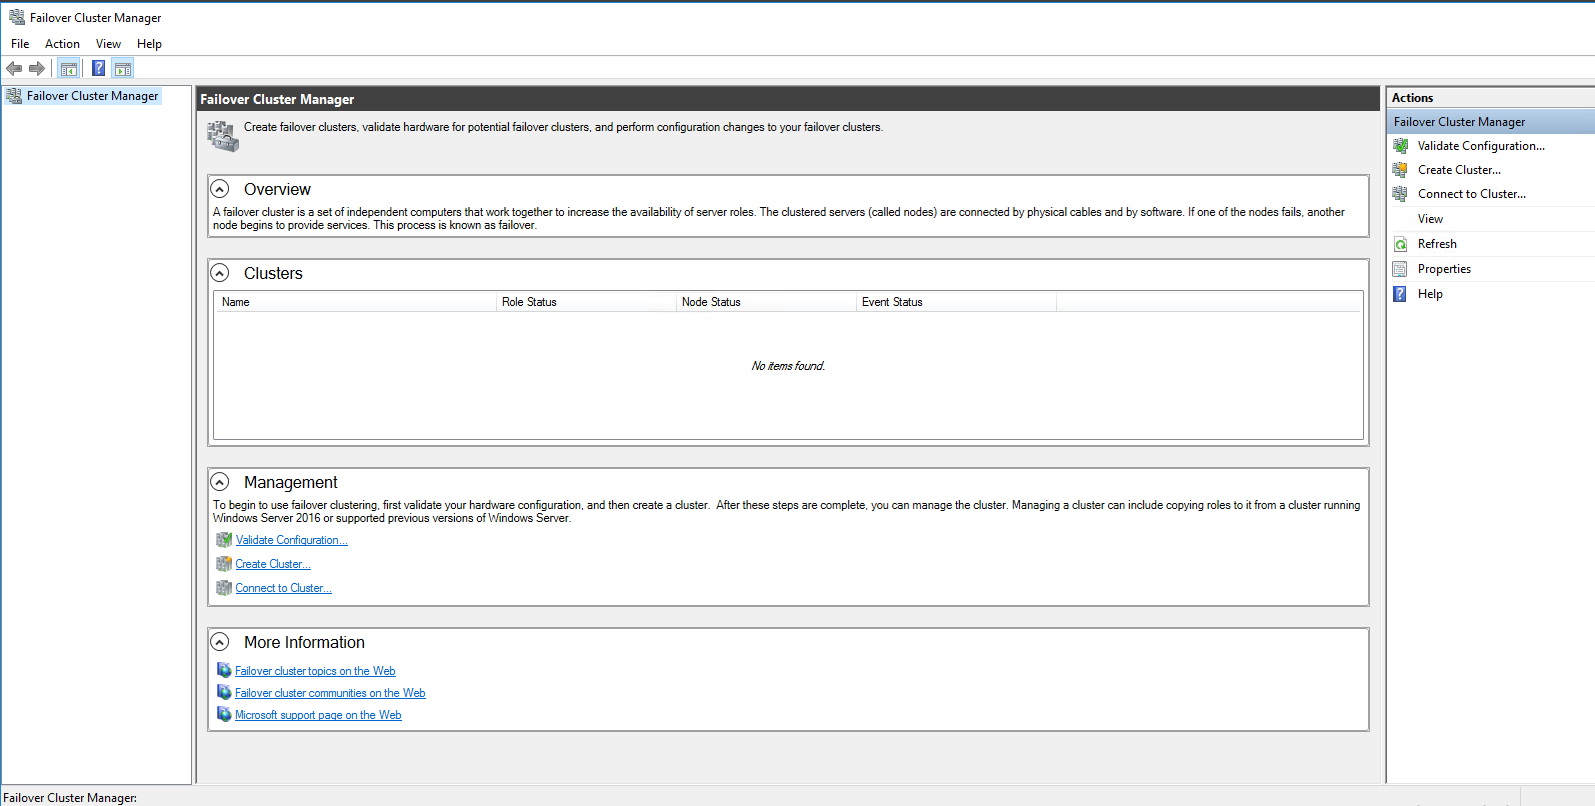
Click Create Cluster. The Before you Begin window is displayed.
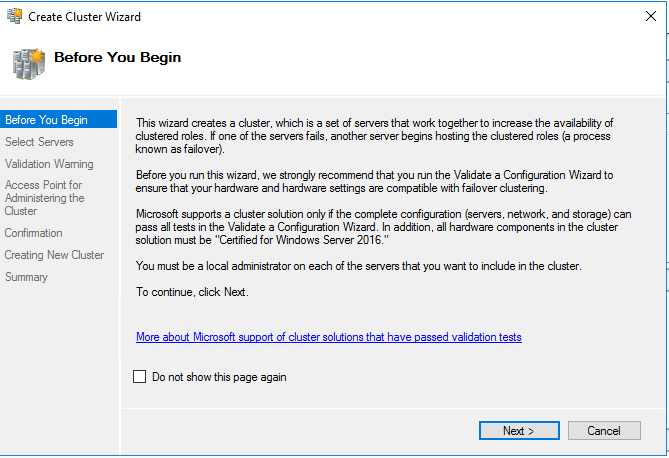
Click Next. The Select Servers window is displayed.
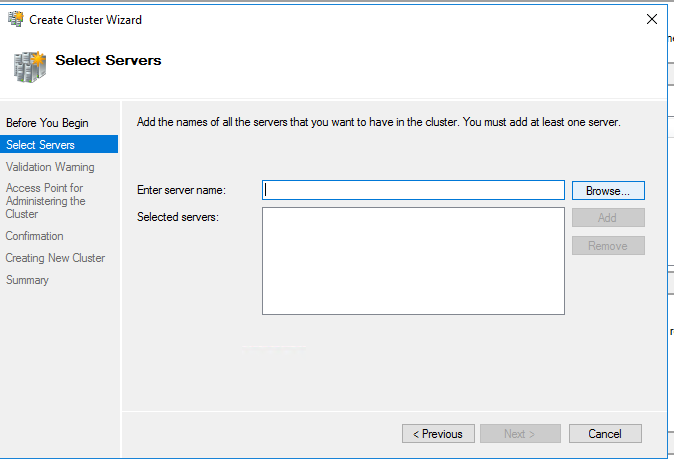
Enter the server names that you want to add to the cluster. Alternatively, you can locate them via Browse.
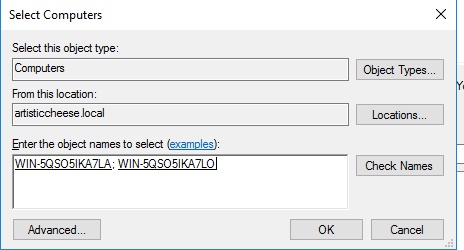
Click OK. The Servers will be verified.
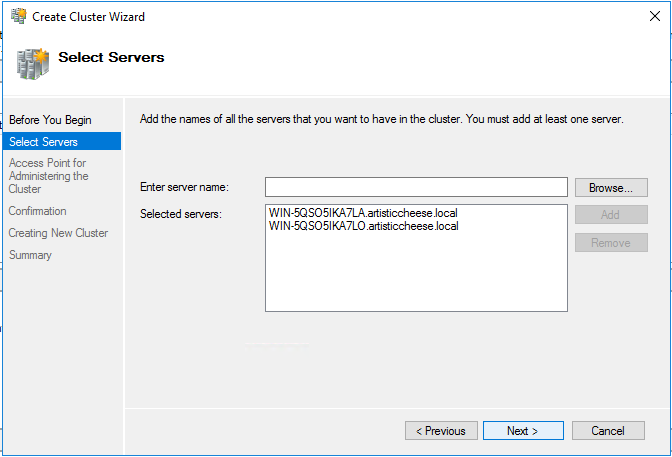
•Click Next.
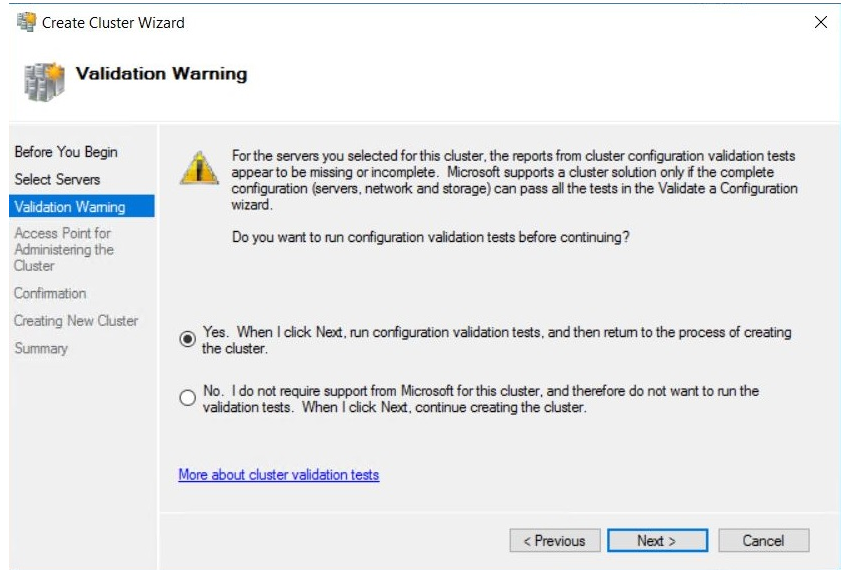
•The Validation Warning window is displayed.
•Select Yes to allow verification of the cluster services.
•Click Next.
•The Validate a Configuration Wizard is displayed. This wizard validates the server configuration.
Click Next. The Testing Options window is displayed.
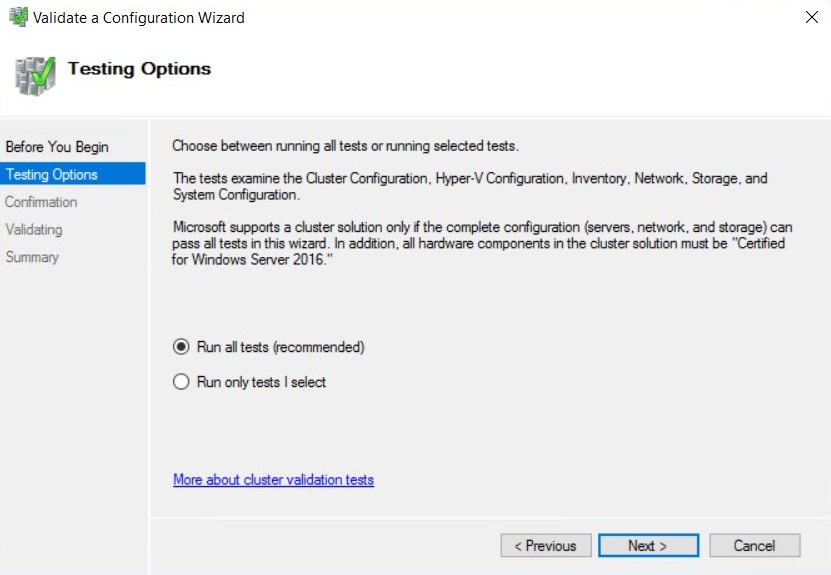
•Select Run all tests (recommended).
•Click Next.
•The Confirmation window is displayed. This window lists all of the tests that will be run.
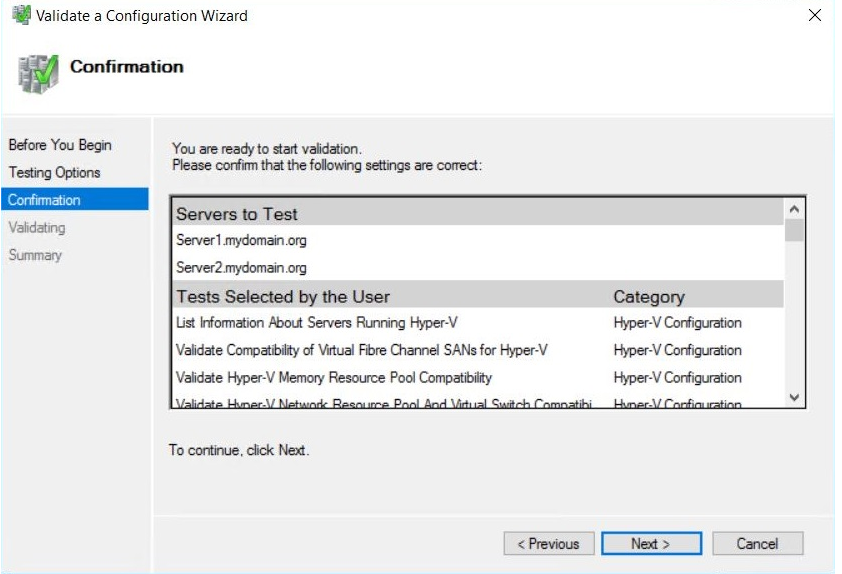
•Click Next.
•The Validating window is displayed while all of the clustering tests are being run. This process may take several minutes depending on your network infrastructure and the number of nodes you have chosen to add to your cluster.
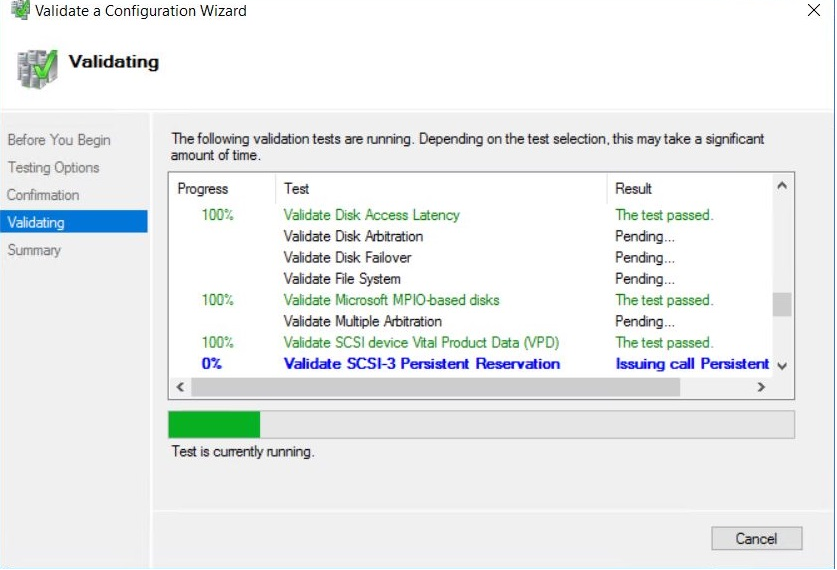
When the tests have completed, check the report then fix any configuration errors. The cluster setup will fail if any errors exist.
The Access Point for Administering the Cluster window in the Create Cluster wizard is displayed.
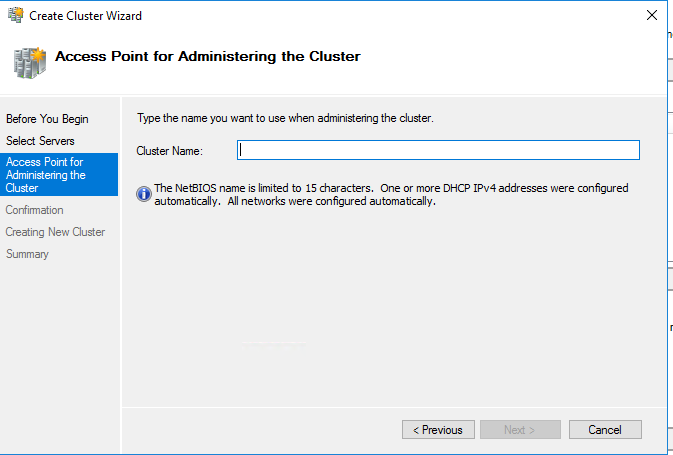
•In Cluster Name, enter a name for your cluster.
•If one or more DHCP IPv4 addresses wasn’t configured automatically you can provide an IP address for the cluster. This name and IP address will be registered in your DNS
•Click Next.
•The Confirmation window is displayed. This window lists the settings to be applied to your new cluster.
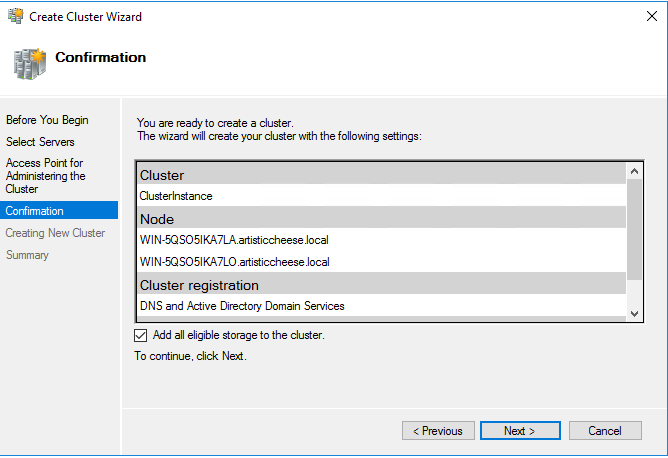
•Select the Add all eligible storage to the cluster check box.
•The system will now try to assign any storage it can find.
•Click Next.
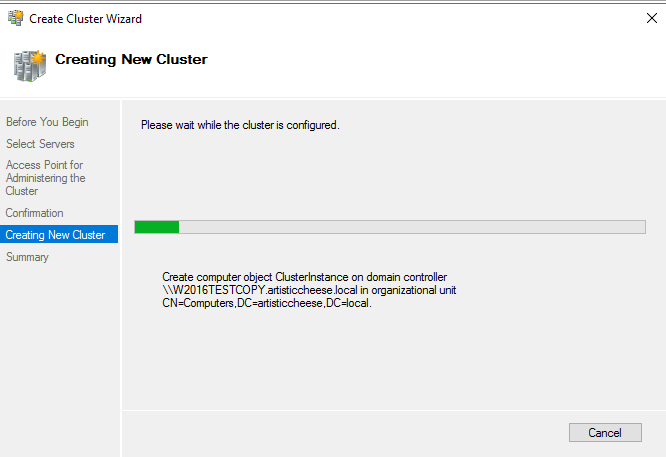
•The system attempts to create the new cluster in your domain. This may take a while as there are several checks that must take place and tests that are conducted while the system is configured.
When the process is complete, the Summary window is displayed stating that the cluster wizard completed successfully.
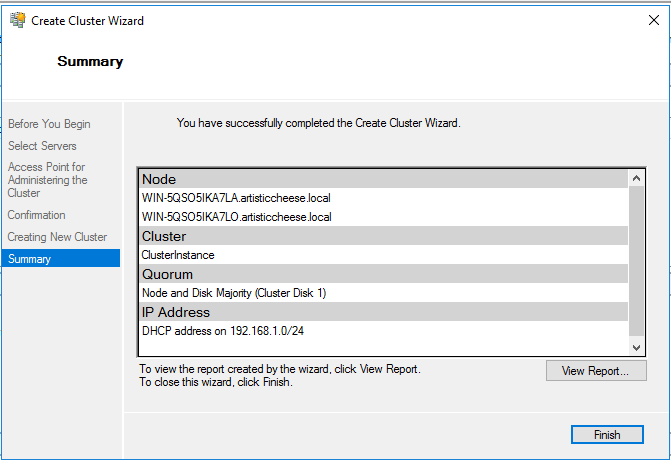
Click Finish.
